- Licensed CA Contractor·
- ADA Compliant Installs·
- Serving All of Southern California·
- Free Estimates·
- Licensed, Bonded & Insured
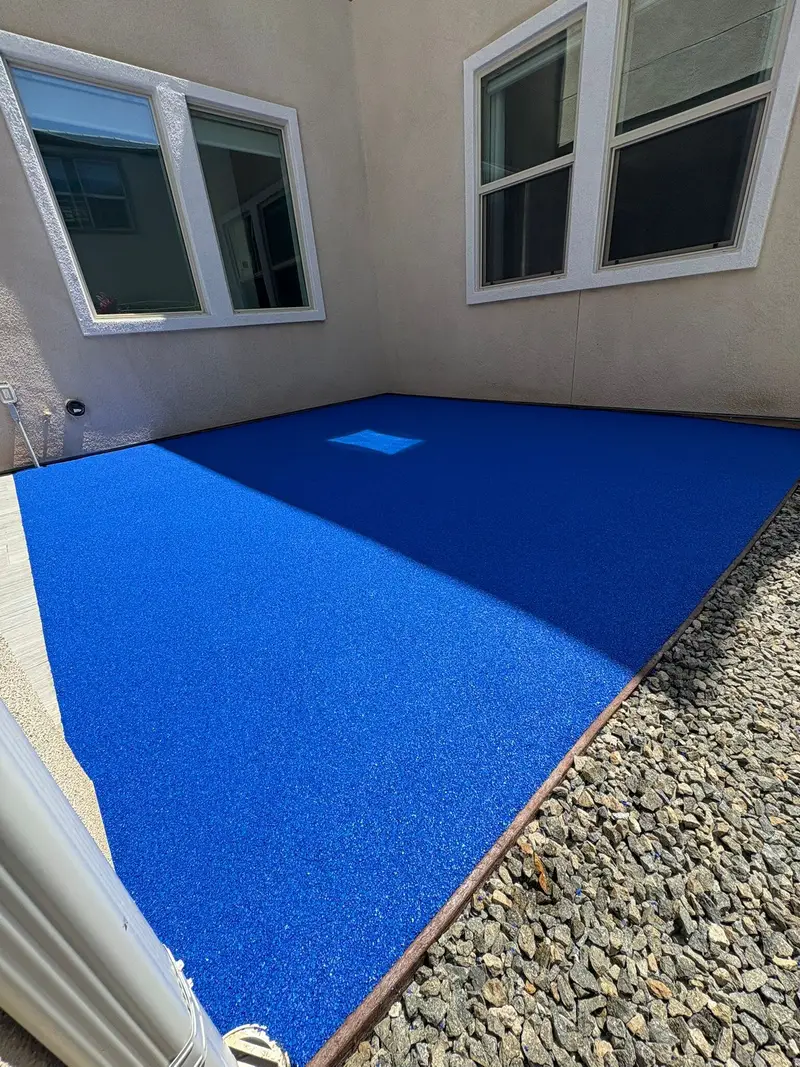
The Poured-in-Place Rubber Installation Process, Step by Step
How a rubber surface goes from bare ground to a finished, cured, ready-to-use play area.
Quick answer
The poured-in-place rubber process runs from site walk and scope to base preparation, priming, mixing, laying the cushion layer, troweling the colored wearing course, detailing edges and curing. Each step depends on dry weather and a firm base. Turbo Surfacing is licensed, bonded and insured, and walks owners through every stage before work begins.
Key takeaways
- Base prep decides the finish.
- Dry weather is needed for placement.
- Cure time depends on weather.
- A final walkthrough closes the project.
Knowing the process makes a rubber project far less stressful. You will see who arrives, what equipment is used, how long each step takes and when you can use the space again.
This page walks through each stage in order, with notes on what can change the schedule.
Step 1: Site walk and measurements
A project manager visits the site to measure areas, note equipment, locate drains and check the condition of the base. We ask about use, budget, preferred colors and timing. Photos, drawings and measurements go into a written scope.
We schedule the visit around your availability, and you receive the written scope after the site walk.
Step 2: Design, samples and approval
We turn the scope into a plan that shows areas, thickness, colors and graphics. Color samples are provided so you can see them outdoors. Equipment data and fall heights are reviewed, and the plan is adjusted until it fits your needs.
Once you approve, we order materials and schedule the crew.
Step 3: Mobilization and protection
The crew arrives with mixers, hand tools, pallets of rubber and binder, and protection for nearby surfaces. We set up barriers, cover plantings and mark off the work area. A staging spot for materials is agreed ahead of time.
Neighbors, staff or tenants are informed so everyone knows what to expect.
Step 4: Removing old surfacing
If chips, sand or old rubber are present, they are removed and hauled off. Edges are trimmed and cleaned, and debris is swept away. Equipment posts are inspected and sleeves are set where needed.
This stage can reveal hidden problems such as roots, buried debris or soft soil, and we discuss them with you immediately.
Step 5: Base preparation
Aggregate bases are graded, compacted and checked with a straightedge. Concrete and asphalt are cleaned, repaired and checked for moisture. Slopes are checked so water flows where planned.
A smooth, firm base keeps the finished rubber even, so we spend as much time here as needed.
Step 6: Priming and layout
A primer is applied on slabs to help the cushion layer bond. Layout lines, color boundaries and thickness marks are set with chalk, tape and stakes. Any inlays or graphics are prepared with templates.
Lines are checked with the plan before material is mixed.
Step 7: Mixing the cushion layer
Rubber granules and binder are mixed in batches in a mixer, in proportions set by the manufacturer. The mix should be uniform, with granules fully wetted but not soupy. Crews work in a steady rhythm so each batch is placed before it begins to set.
Weather affects mixing time, so the supervisor adjusts as conditions change.
Step 8: Placing and screeding
The cushion is spread to the specified thickness using screeds and hand trowels. Depth is checked at several points, and low areas are filled while the mix is still workable. Seams between batches are blended to avoid visible lines.
For large areas, work moves in strips so each section blends into the next.
Step 9: Wearing course
After the cushion firms, the colored EPDM wearing course is mixed and troweled over it. Crews finish with steel trowels to produce a smooth, even texture with consistent grip. Color boundaries are cut and filled by hand.
Because color is the first thing everyone sees, this stage gets the most careful attention.
Step 10: Edges and details
Edges at curbs, posts and fences are trimmed and sealed. Graphics are checked against the plan, and any pinholes or rough spots are touched up. Drain covers, access panels and transitions are cleaned of excess material.
We walk the site with the supervisor and note any detail to fix before the surface cures.
Step 11: Curing
PIP cures by reacting with moisture in the air. In mild weather, light foot traffic is possible after about a day, though full use takes longer. Humidity, temperature and thickness all change cure time.
We keep the area closed with barriers, give you a clear reopening time and ask that water, dogs and heavy loads stay off until then.
Step 12: Final walkthrough
When the surface has cured, we walk it with you, check edges and colors and answer questions. You receive a care sheet, a list of recommended cleaning products and instructions for reporting any concerns.
Any punch list items are scheduled and completed promptly.
What can change the schedule
Rain, fog, wind, cold nights and very high heat can delay mixing or placing. Late deliveries, discovered base problems and design changes can add time. We keep communication open so changes do not come as surprises.
A realistic schedule shows both the likely finish and what could push it later.
Crew, equipment and safety
A typical crew includes a supervisor, mixers, finishers and laborers. Equipment includes mixers, screeds, trowels, compressors and trucks. Safety plans cover site access, ventilation, materials handling and protection for nearby people.
We follow the site rules of schools, parks and property managers and keep the work area orderly.
Preparing your site before the crew arrives
A few simple steps make the first day smoother. Move vehicles, tables and planters out of the work area, mark sprinkler heads and shut off irrigation to the zone. Tell neighbors and staff about noise, deliveries and closed paths, and point us to water and power if they are available.
If students, residents or visitors use nearby walkways, let us know so we can plan barriers and signs.
How we check quality as we go
Quality checks happen at every stage, not only at the end. We check base flatness with a straightedge, measure cushion depth at multiple points and compare color boundaries with the plan before the wearing course is placed. Samples of each mix are kept on site for reference.
If something is off, we fix it while the material is still workable, because rubber cannot be corrected once it has cured.
After the crew leaves
Once the surface has cured and the area reopens, small things may still show up in the first weeks: a loose edge, a rough patch or a drainage question. Call us and we will inspect promptly. Early rinsing, gentle cleaning and avoiding heavy loads help the surface settle in.
We follow up after the first month to confirm that everything is performing as planned.
Staying in touch during the job
You receive a contact number for the supervisor and a short update at the end of each work day. If weather or a hidden condition forces a change, we call before acting. Photos of each stage are shared on request, which helps remote owners and school districts follow progress.
Getting an estimate
Our poured-in-place rubber cost guide explains what moves the price. Send photos and rough dimensions through the free estimate form and we respond within 24 hours. Site walks are available the next day or later, depending on availability, and you receive a written scope after the visit.
What to know before you start
Ask for batch, placement-time and weather records to be labeled by work section. A future rubber repair can then be traced to the original placement area rather than an undifferentiated site-wide material receipt.
Frequently Asked Questions
Sources
Last reviewed:
By Turbo Surfacing Solutions team · Planning updated:
KEEP EXPLORING.
Other Southern California surfacing projects we specialize in — handpicked because they share the same materials, standards, or installation crew as this page.
Related Poured-In-Place Rubber & Resources
Sibling services, cities where we install this, and blog posts that go deeper.
More Poured-In-Place Rubber
- PIP Rubber InstallationProfessional Installation
- PIP Rubber MaintenanceMaintenance Guide
- Surfacing ApplicationsApplications
Cities We Serve
- Poured-In-Place Rubber in Chula Vista
- Poured-In-Place Rubber in San Diego
- Poured-In-Place Rubber in Oceanside
Get a Quote for PIP Installation Process
Get a free, no-obligation estimate for your project. Our team responds within 24 hours.
Get Timeline + Quote